A Guide for Winter Photography
by David Long
© David Long
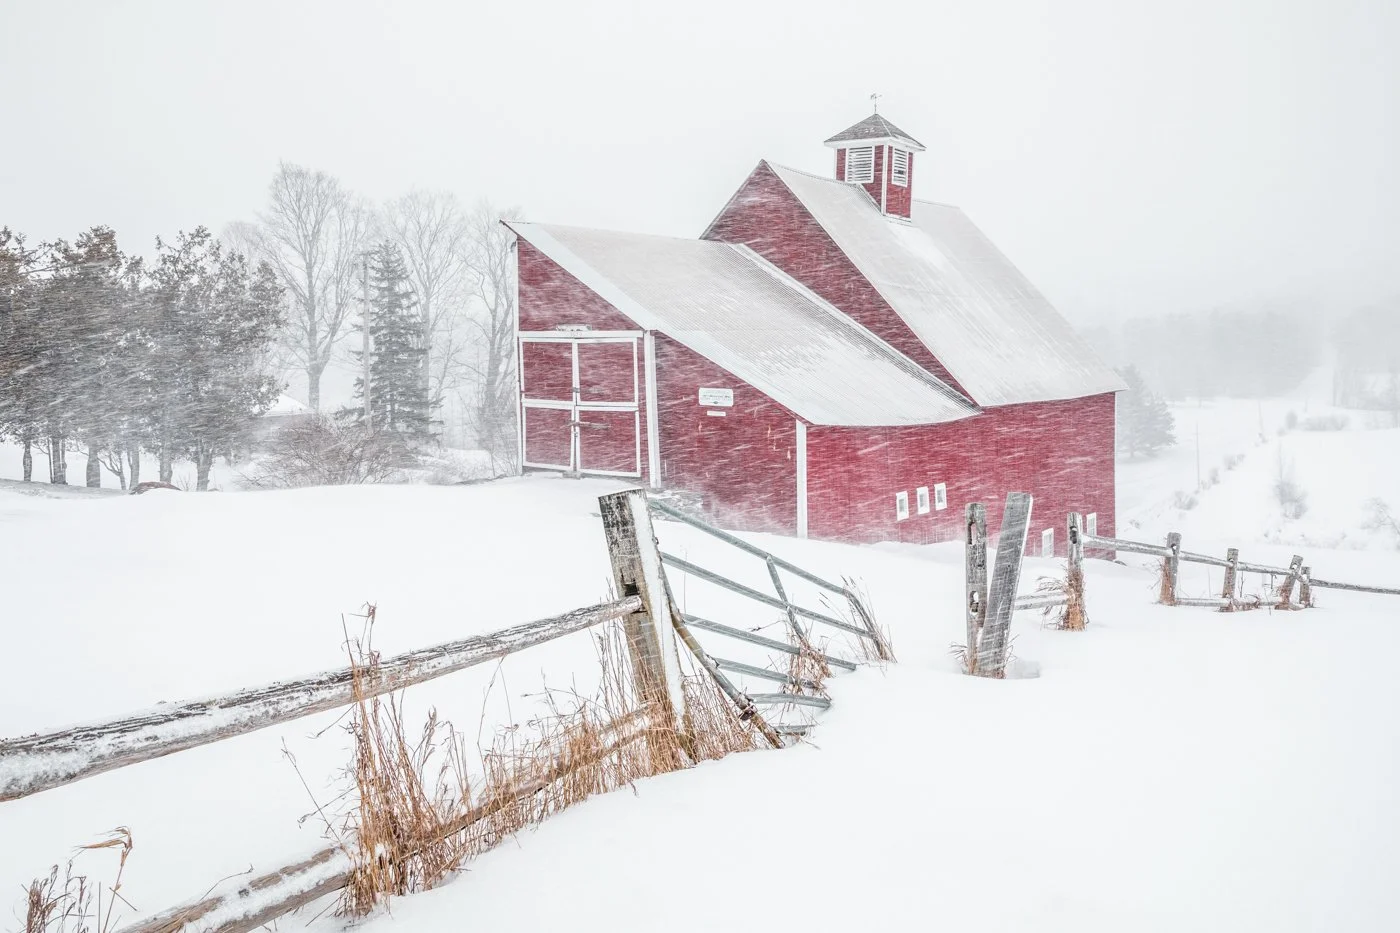
Living in New England, I am blessed with ample opportunities to shoot my favorite landscapes in all four seasons. Winter is my second favorite mainly because of its juxtaposition with the other three where the scenes overflow with color; winter instead, has a stark, minimalist look that provides an entirely different opportunity. In winter, the point of interest becomes much more important.
Foreground and background elements that typically play a big roll in your composition often change radically or even disappear into a blank white canvas. The upside is that many views that are obscured in the other seasons now present themselves.

© David Long
Winter Weather & Landscapes
In my work, I mainly focus on locations with short hikes and in conditions that are not too cold or windy. I look for days that are around freezing with little or no wind. Not only is this more comfortable weather, but I find this improves the photography too. The snow is usually wetter and clings better to structures and trees, lakes and ponds are usually smooth if they have not frozen over yet.
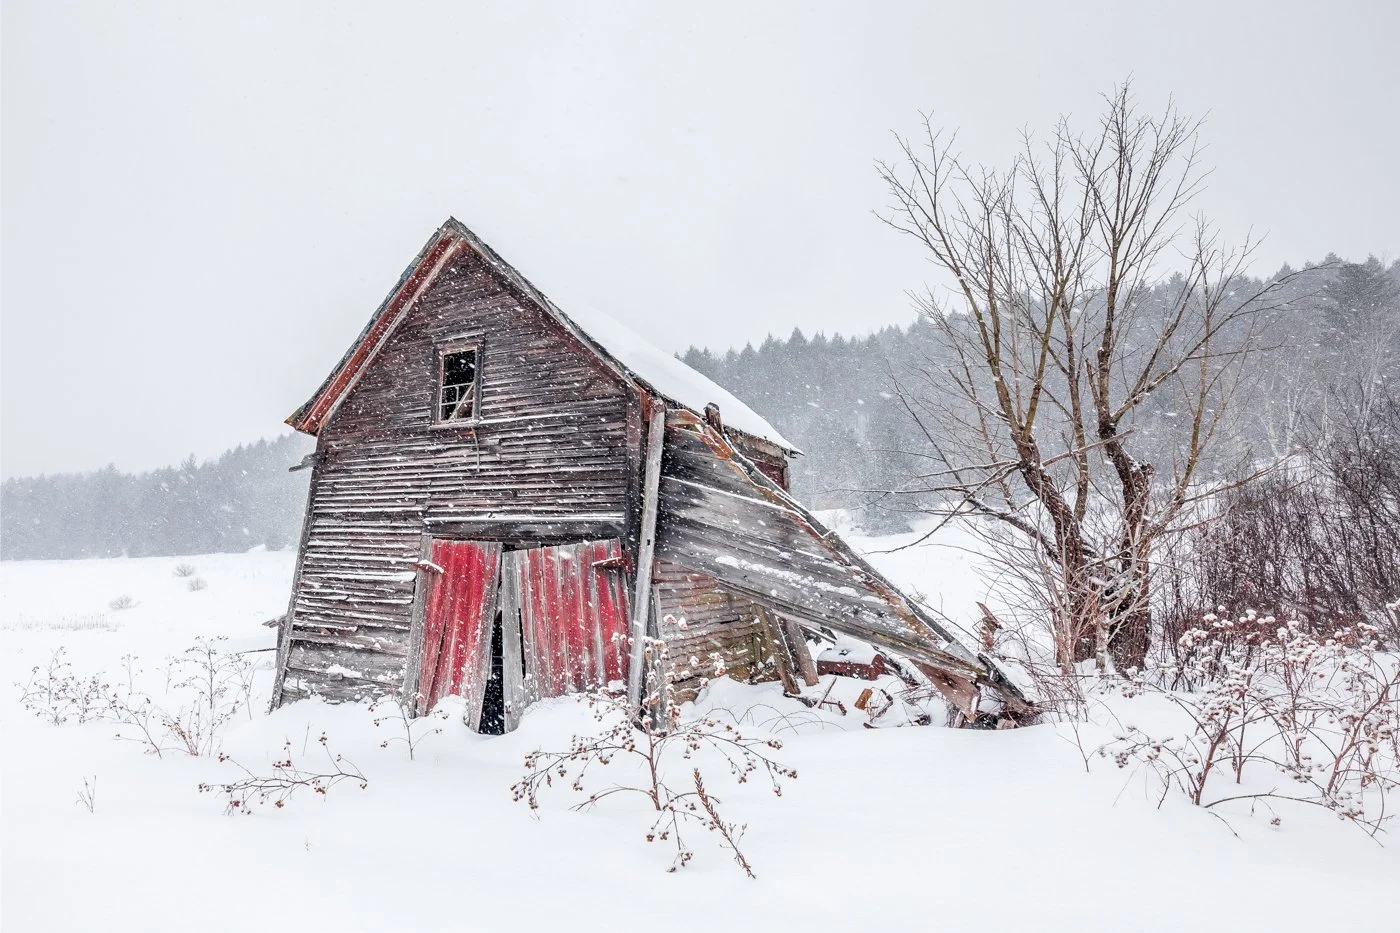
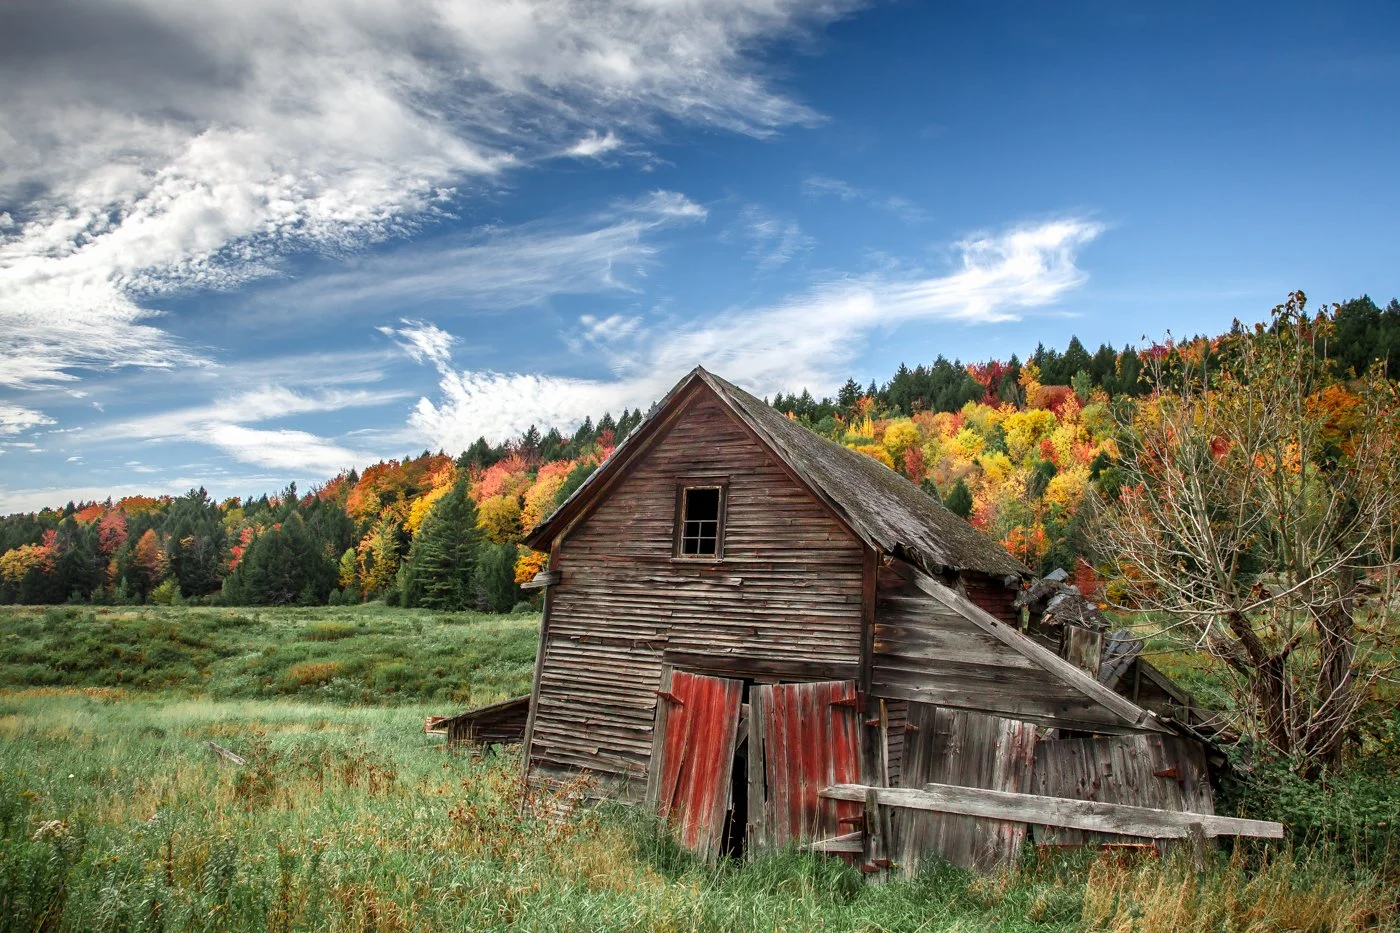
Familiar landscapes can look totally different in winter when the trees are bare, the grass is covered, the light is coming from different angles, and the sky is taking on different tones. That is what makes it so interesting!
© David Long
© David Long
Equipment
I use the same gear for winter landscapes as I do for any other season. These are a few tips on how to handle the gear a little differently:
Keep Your Camera Gear Cold - I put my gear in the trunk or back of the car to keep it closer to the outside temperature. This prevents fogging the mirror and the lens when brought outside.
Keep Your Batteries Warm - Batteries drain faster in colder temperatures. Keep them in a pocket or inside your coat, closer to your body heat, until they are needed.
Pack Your Camera Bag For Accessibility - Decrease the exposure of your gear to the elements and increase you ability to find what you need by arranging your bag in advance.
Lens Hoods and Umbrellas - Carry your lens with the hoods already mounted and carry an umbrella to shield the camera from falling snow.
Microfiber Lens Cloths/Wipes - Carry plenty of these and use them often to wipe off your lens.
Longer Focal Lengths - When it is snowing heavily, avoid longer focal lengths that have to fight through too many snowflakes to get a clear image.
Polarizing Filter - Great for reducing the glare off of snow and ice.
Warm Up Your Camera Slowly - To prevent condensation on all of your equipment, place your gear back into your bag, close it up before bringing it in, and allow it to sit for a while before opening it.
© David Long
Shooting Techniques
I don’t do many things differently in winter, but there are a several keys things that I would recommend to get the best RAW file to take into post-processing:
Because your camera is set to read 18% gray, I will usually set my EV (exposure variable) to 1-1/2 to 2 stops overexposed to push my histogram as much to the right as possible.
Pay special attention to your shutter speed depending on what you are trying to achieve:
If you want crisp snowflakes, look to shoot at 1/250 sec. or higher to freeze the snow.
If you don’t want to see the snowflakes, but more of a snowy haze, set your shutter speed at 1 sec or slower so that the individual snowflakes do not appear as foggy streaks.
If there is wind, try to shoot so there is a cross wind to give the streaking snow a sense of movement.
Shoot with a smaller aperture than normal so that any random snowflakes closer to the lens are in focus.
Shoot on a cloudy day to avoid glare and harsh shadows
Use your histogram versus the image on the LCD. Histograms are really the key to effectively getting the correct exposure in snowy scenes. Continue to shoot until the majority of the histogram is on the right half of the graph without touching the right edge.

© David Long
Composition
When shooting in winter, pay attention to the following:

Most of the “natural” framing may be gone in winter, especially foliage on trees so pay close attention to your point of interest and how branches or ground cover impact the scene. © David Long

Wet snow will stick to most everything giving you an entirely different look and one that may create a reason to include more of the surrounding trees and bushes than normal. © David Long
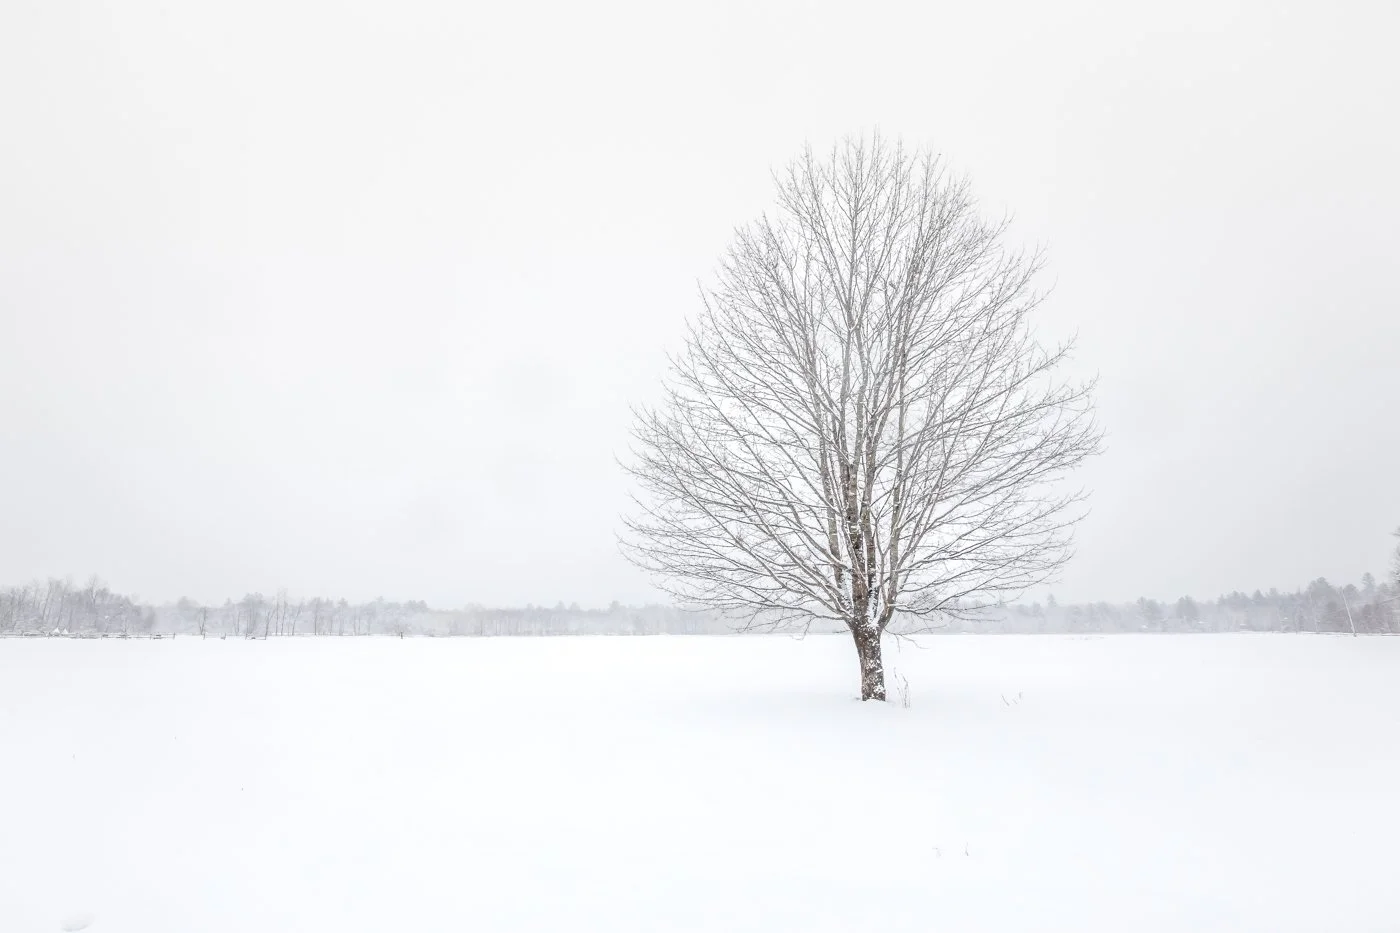
Winter can create a very barren or desolate look that can turn an every day scene into a compelling shot. Be careful not to leave footprints where your don’t want them. © David Long
Color or Black & White

There’s often little to be gained by snow pictures in color. On the other hand… © David Long

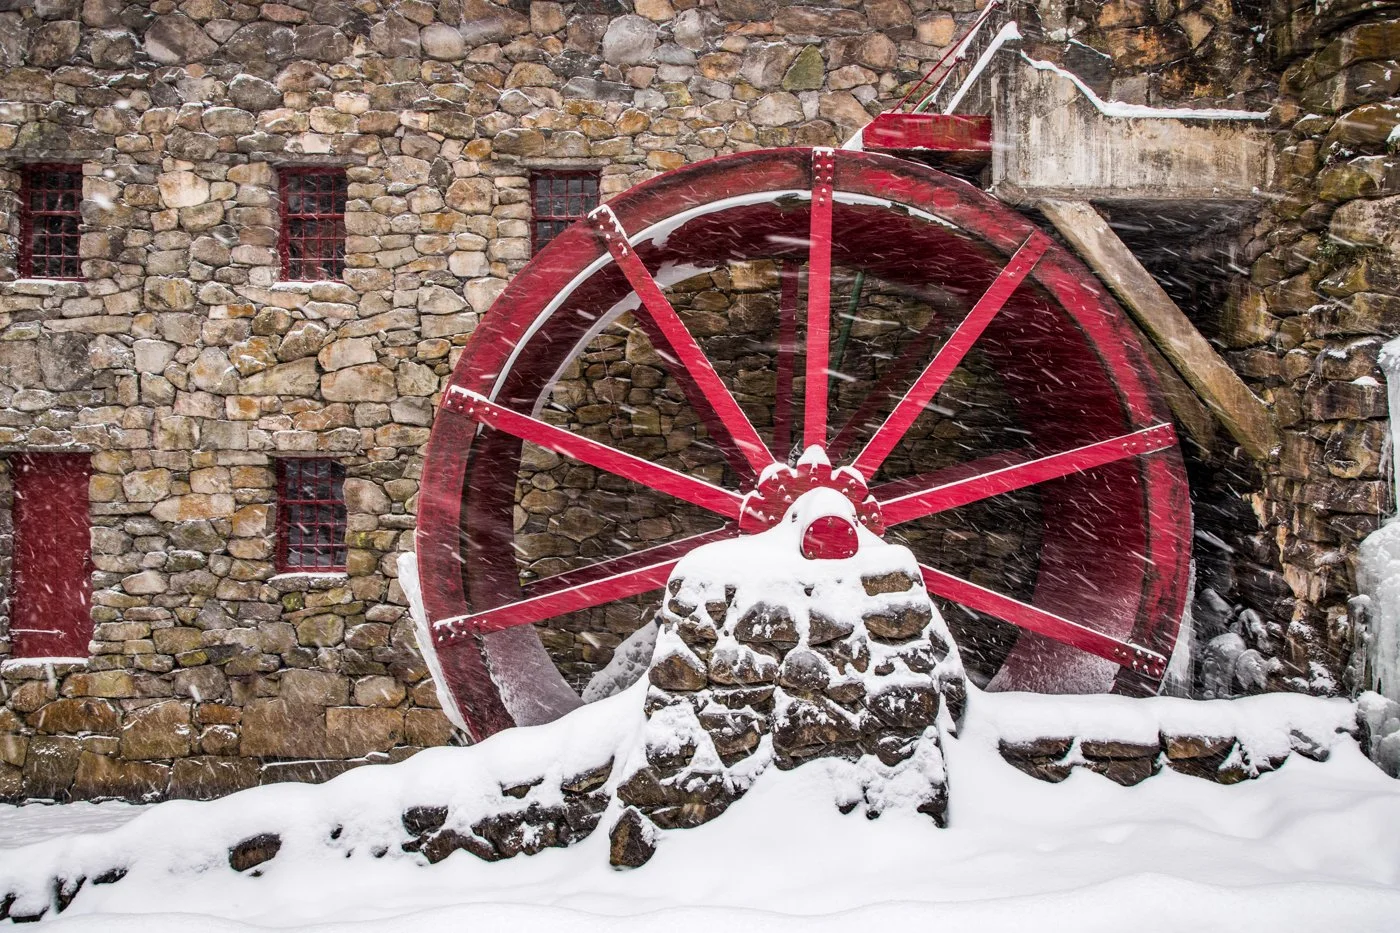
Something red in a snow scene is gorgeous, too. © David Long

© David Long
Post-Processing
Here are some suggestions that I follow when processing my winter images in Lightroom:
I always calibrate my monitor using the Datacolor Spyder X
If the majority of my histogram is not on the right side, I will push the exposure up to a half-stop to get it there.
I push the “blacks” slider a little deeper than normal to accentuate the dark areas against the white background.
I use the Clarity and Dehaze sliders to achieve the level I like in the haziness of the snow and how crisp the background elements stand out.
I use the masking features in the Brush Tool and pull-down filter to add emphasis to the sky or surrounding vegetation.
I like my snow “white” so I desaturate the blue out of it in the HSL panel
I add saturation selectively to buildings, trees and brush using the HSL panel
I use Content-Aware-Fill in Photoshop to clean up telephone poles and wires, objectionable foreground elements and unruly snowflakes that are streaking or blobbing the image.
We hope this guide inspires you to get outside, even in the cold and shoot, shoot, shoot! Check out our winter workshops if you need a little “push!”

Dave Long has been practicing digital environmental landscape photography for the last ten years, and film for many more. From the mountains of New Hampshire and Vermont to the seacoast locations of Maine and Massachusetts, he looks for iconic images during the best seasons with incredible light. He strives for each photograph to communicate not only what is seen, but also how the location makes you feel.
Dave is a member of the Boston Camera Club where he was the 2018 Photographer of the Year. He has won numerous awards including the Appalachian Mountain Club’s Image of the Year. His images have been featured in Cape Cod Magazine 20th Anniversary Edition, the 2018 Guide to Boston, St. Augustine Social Magazine and Visit Central Mass Guide. Dave is also a blog contributor for Datacolor Photography Calibration Company.
Dave lives in Shrewsbury, MA and speaks at camera clubs throughout New England. He has published various e-books (available in our store) for self-guided tours of New England locations.
See his work online at www.davelongphoto.com and on Instagram.