Guide to Black & White Photography
By Thibaut Pawlas
As landscape photographers, we rely on a visual language to tell our stories and express emotions. Different elements such as luminosity, contrast, geometry, atmosphere and color are the main components of that visual language. Black and white photography started as a limitation of the medium when shooting in black and white was the only option, but nowadays, converting an image into chromatic grayscale is a deliberate creative choice.
What could possibly motivate that decision, especially when we have the ability to fine-tune colors in such a precise way in our editing software? Why would we deliberately remove color, which is such a powerful and emotional component, from our images?
Like often with photography, the answer to that question is very personal. From my perspective, stripping the colors from an image conveys a different feeling. From the darkest image full of drama to very airy, comforting high-key images, black and white photography (and especially all the shades of gray in between) have the ability to reveal the essence of a scene. It is undeniably a complete departure from what we see with our eyes. Being one more step away from reality gives us total creative freedom in the way we approach the medium of photography, particularly at the post-processing stage when we deal with contrast.
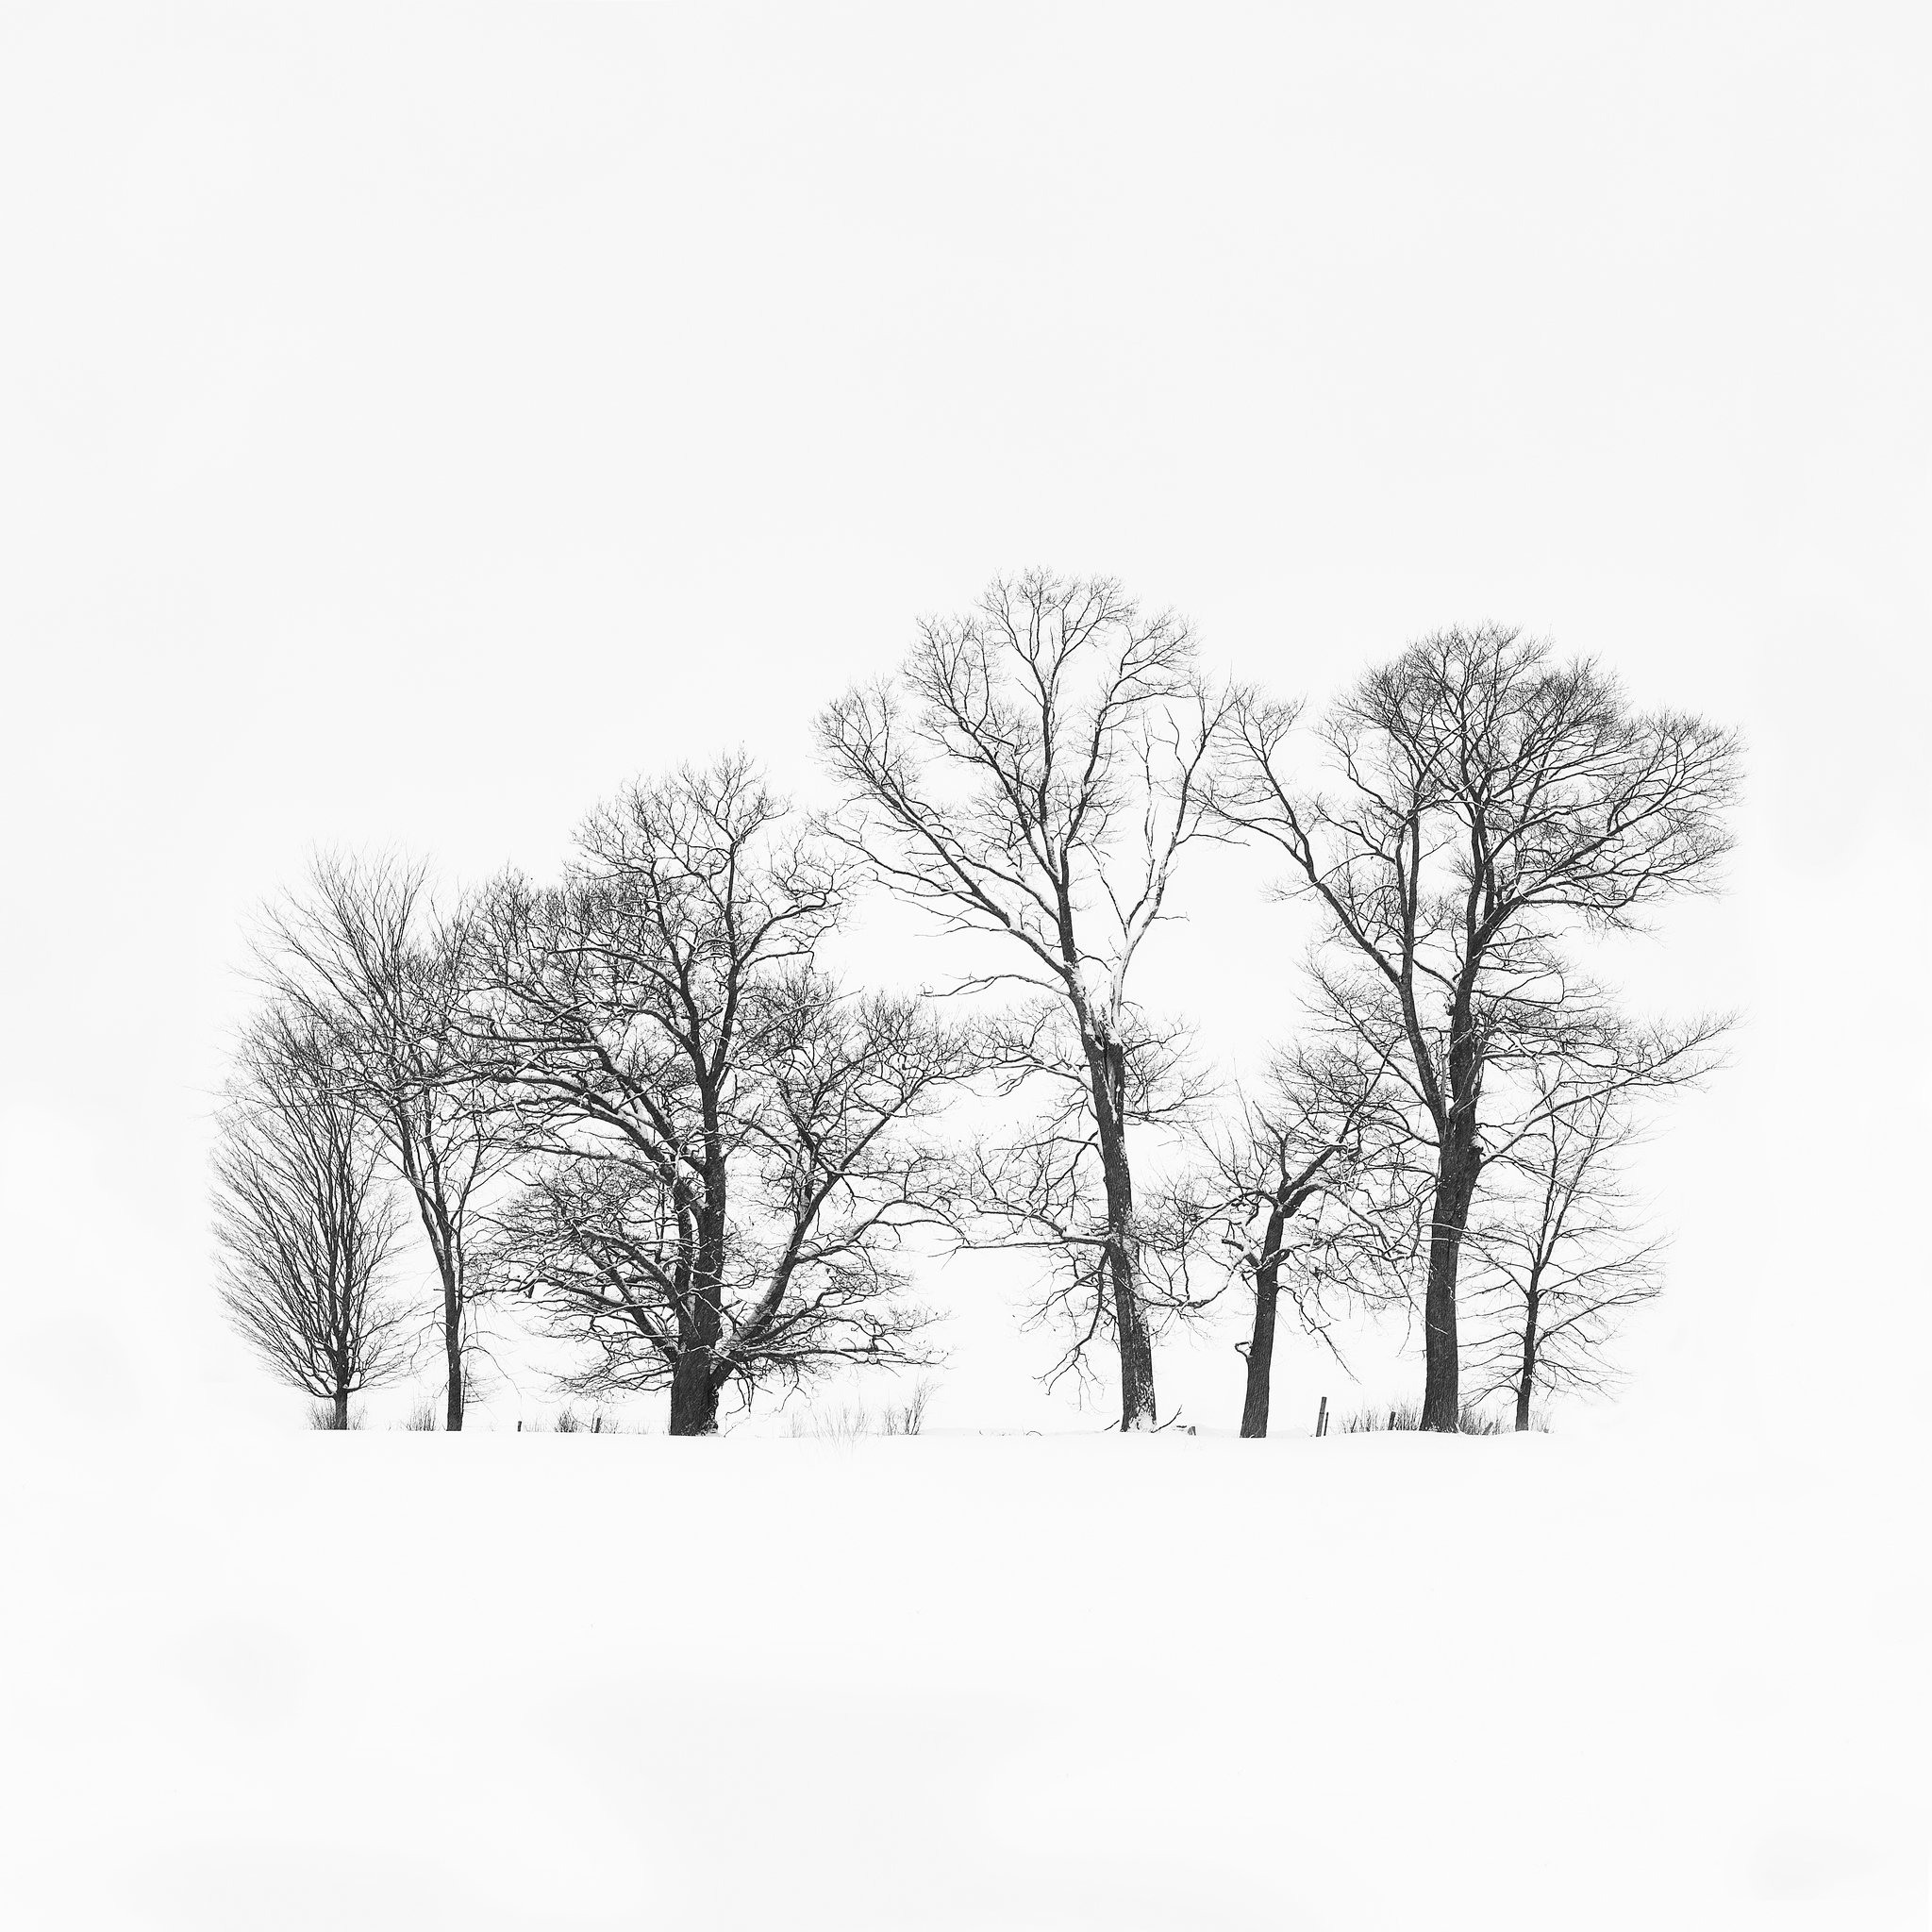
A stand of trees in the snow on a cloudy day is a perfect scene for a high-key black and white photograph. © Thibaut Pawlas
In the first part of this article, we will have a look at what to consider in the field when you envision a black and white image. In the second part, we will move to the post-processing techniques, which will enable you to realize your vision and create better black and white photographs.
Part 1: In the Field
Whether you are shooting in color or black and white, having a well-defined subject and strong compositional elements is a prerequisite to a successful photograph. The interplay of light and shadows along with textures, lines, shapes and atmosphere are the core elements of the visual language of black and white photography.

Smaller scenes, flowers and vegetation lend themselves particularly well to black and white photography. Luminosity, contrast, textures and shapes are the main elements of this scene. © Thibaut Pawlas
Choosing to create a black and white photograph does not necessarily need to happen at the time of capture, but having a vision for the final image helps with decision-making in the field.
Seeing in black and white and visualizing the potential of a scene requires practice. Turning your camera to black and white mode can certainly help you train your vision. However, be sure that you can still record the RAW data and preserve colors while shooting in black and white, you will have more latitude in what you can and can’t do at the post-processing stage.
Photographing in broad daylight on a harsh sunny day is usually not ideal if you are capturing your images in color. However, these conditions offer a tremendous advantage for black and white photography since they provide a high natural tonal contrast. Cloudy days can also be interesting, with a strong contrast between luminous white clouds and darker foregrounds.

In this example, the histogram shows a small spike in the shadows and a larger one in the highlights. This information tells us that there is already some contrast in the scene, which would make a good starting point to convert this image to black and white.
My vision in the above scene was to create a high contrast, black and white photograph of the Burlington Breakwater Lighthouse. The geometry of the scene was interesting, and accentuated by the harsh light that gave me a good starting point to accentuate the contrast further during the post-processing stage.

© Thibaut Pawlas
Part 2: Post-Processing
Recently, I came across an interview with Cole Thomson where he spoke of his rule of thirds. He conveyed that a good photograph is made of one-third vision, one-third capture and one-third post-processing. Having the vision and executing in the field gets you two-thirds of the way there, so let’s focus on the remaining one-third. Post-processing is a critical step to create an expressive and personal photograph.
Between the different editing software and the huge variety of tools at your disposal, this is a vast topic that can quickly become overwhelming. The goal of this section is not to cover every single tool and technique, but more to give you general guidelines and steps that you can build upon.
1. What is your photograph about?
This is not specific to black and white conversion, but it is important to answer a few questions before you start post-processing your desired image. What mood and story do you want to tell? Where do you want the viewer’s eye to go? Answering those questions will help you to select the right tools, allowing you to emphasize and de-emphasize elements and areas of your photograph. This is perhaps the most critical step of the process: knowing what you are trying to achieve.

Green River Overlook in Canyonlands National Park. My intent was to draw people’s attention to the strong light on the clouds and the edges of the canyon. © Thibaut Pawlas
2. Basic adjustments
Before converting the photograph to black and white, I generally start with some basic adjustments such as levels, exposure and white balance. As a personal preference, I like to start with a good-looking color image.

3. Black and white conversion
This is a very simple step that can be done using a black and white adjustment layer in photoshop or by ticking the “enable black and white” box in Capture One, Lightroom or Adobe Camera Raw.
At this stage, we can start introducing some contrast with the black and white mix panel. Because the color still exists in the RAW data, we can target the grayscale tones selectively by color. Although this is an interesting way to introduce contrast and separate tones in your image, if used aggressively, this tool can also deteriorate the quality of your file and bring undesired noise and banding. Personally, I use it to create subtle changes and overall prefer other tools to gradually build contrast, as we will see in step 5.
4. Global adjustments
This is where the expressive process really starts. If you have set your black point and white point using the level tool in step 2 (don’t forget to turn your exposure warning on to preserve details in the shadows and highlights!), you should already have some contrast in your image. It can be tempting to heavily use the contrast slider, but I don’t use it very often. Curves are usually a much more precise way to target the tones in your image. Overall, your global adjustments will set the mood of your photograph.

This high-key photograph of the Sacré-Coeur in Paris only consisted of global adjustments (exposure, levels and curves). © Thibaut Pawlas
5. Local adjustments
Once you have set the mood of your image, it is time for local adjustments. Luminosity, contrast and sharpness attract the eye. Therefore, increasing the exposure, adding contrast and introducing sharpness to a specific area creates impact and directs the viewer’s eye. On the contrary, lowering brightness, decreasing contrast and reducing sharpness will de-emphasize an area of your image.
Luminosity can be adjusted locally using layers and masks. This is achieved by sculpting light through dodging and burning techniques (i.e. adding light to brighten specific parts of the scene, while darkening others).

In this example, I decided to go for a low-key black and white. Lowering the exposure globally by a stop was a key adjustment to obtain this dark, moody atmosphere. The rest of the process included bringing back light locally, on and above the lighthouse, as well as brightening the water in the foreground. The alternance of shadows and light gives depth to the image. © Thibaut Pawlas
Linear gradient filters, radial filters and luminosity masks are the three masking tools that I personally use to build contrast progressively in my black and white images. Don’t be afraid to use as many masks as you need! A succession of small incremental changes in luminosity, contrast and sharpness on some selected areas will have a massive impact on your photograph.

A clearing hail storm near Gap in the French Alps. Six different adjustments layers were used to target different parts of the image. © Thibaut Pawlas
6. Last touch
This step is performed regardless if I process the image in color or black and white. It includes some dust spot/hot pixel cleaning, image resizing and additional sharpening, if needed.
7. Patience
Once you have finished, leave your computer and come back to your edit a few hours (or even days) later with a fresh set of eyes. You will most likely be unsatisfied to some degree with your work! Perform the necessary adjustments and repeat this process until you are pleased with your image.
I hope this article will spark interest in black and white photography. I am certain that you have some great RAW files in your image library to give black and white conversion a try! Learning to capture and process monochromatic images is a long but rewarding journey. I encourage you to experiment and be playful with your photography, both in the field with your composition and at the post-processing stage.
This will allow you to find your own post-processing style and creative voice. You will inevitably encounter failures and face disappointments along the way. Learn from them, enjoy your successes, share your stories and print your most meaningful photographs!

Thibaut Pawlas
Thibaut is a professional landscape and nature photographer currently living in his home country of France. Twenty years ago, as a teenager, he started photography in the Alps during his mountaineering adventures. Over time his passion for rock climbing took him around the world and documenting the journey allowed him to develop an eye for creating compelling images. Whether it is in the grand landscape or more intimate ones, he strives to connect and engage with nature. Carefully observing his surroundings, he focuses on creating personally meaningful, unique images with the goal of depicting the essence of a scene and conveying emotion to the viewer. Thibaut enjoys photography in all weather and lighting conditions; he believes that strong images can be captured at any time of the day. He started his fine art print business this year and sells his images across North America and Europe. You can see his work online at www.thibautpawlasphotography.com